- Published on
Fix Kali Linux Black Screen Blinking Cursor on Boot (VMware/VirtualBox)
Quick Answer: Kali Blinking Cursor Fix
Kali boots in a VM, the screen goes black, and a blinking cursor remains. This is a common Kali Linux boot issue in VMware or VirtualBox, and the fix is short and direct.

The fix is compact. The overview comes first, followed by the full step-by-step walkthrough with screenshots.
Quick Fix Overview (TTY + startx)
- Switch to a TTY login screen with
Ctrl+Alt+F2(orF3,F4,F12depending on the keyboard layout). - Log in.
- Run
sudo startxand enter your password.
That is the overview. The detailed walk-through with screenshots follows.
Step 1: Jump to a TTY Login Screen
When the cursor shows up, press Ctrl + Alt + F2 (if that does not work, try F3 or F12).

You should land on a text login screen.
Step 2: Log In
Use the existing Kali username and password.
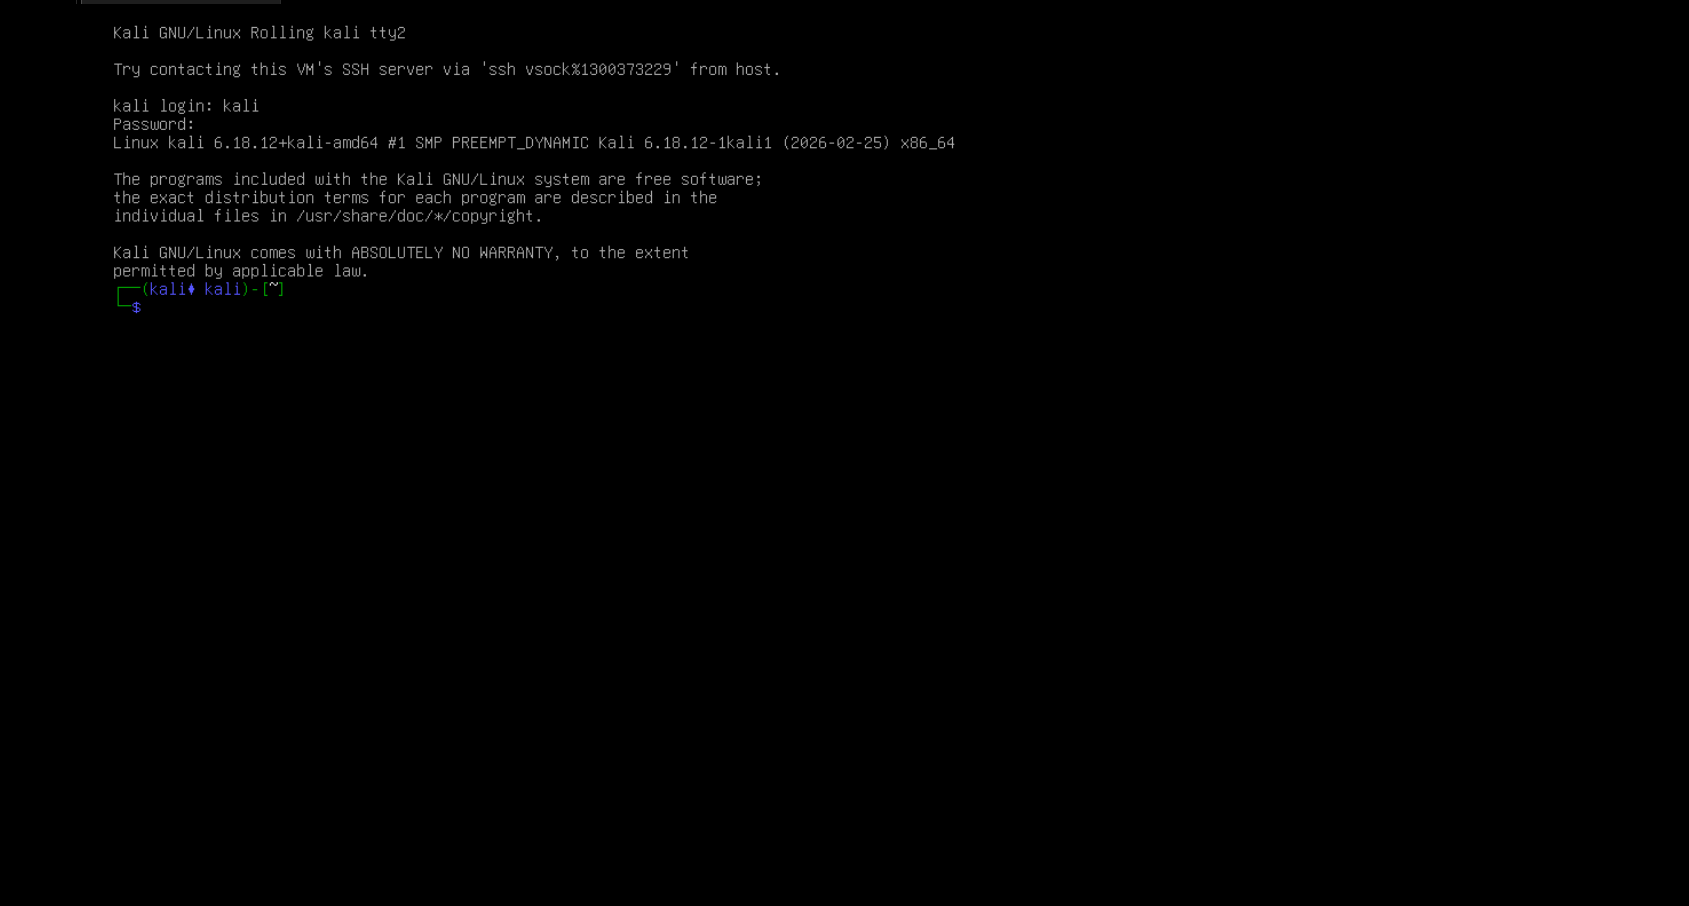
Once you log in, you will see a terminal prompt.
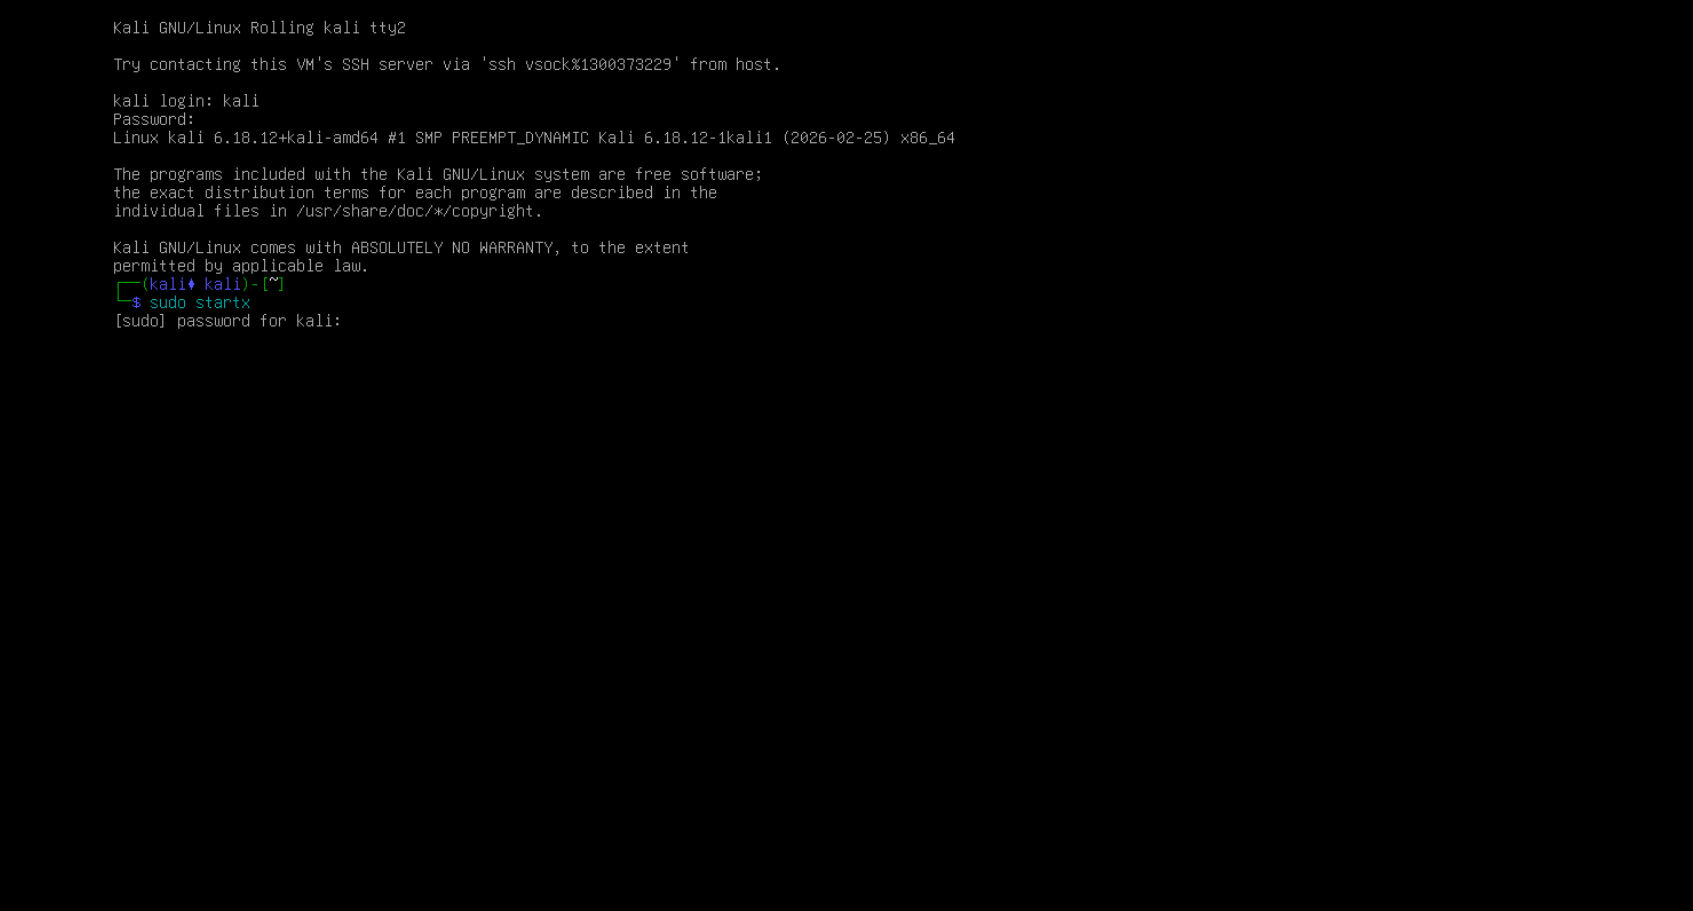
Step 3: Start the Desktop Manually (startx)
Run this command:
sudo startx
Then enter the password again.
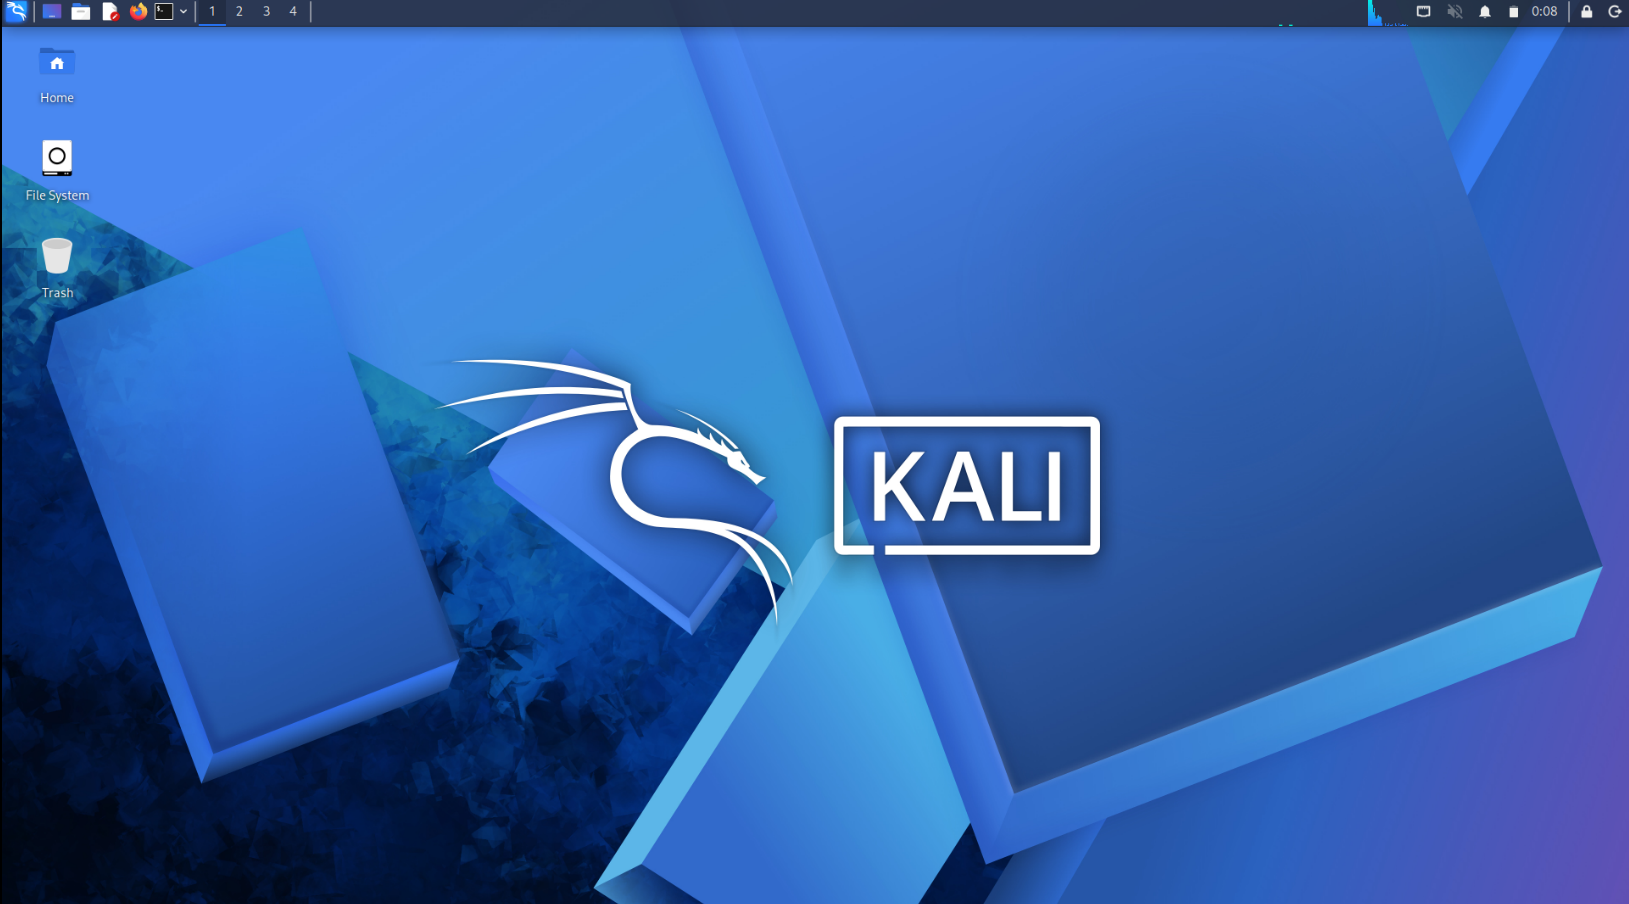
Back to the Desktop
The GUI should load normally.
Permanent Fix: Expand Storage Inside Kali (After VM Disk Resize)
If you increased disk size in VMware/VirtualBox but did not expand partitions/filesystem inside Kali, the system can still hit low disk space and fail to start the desktop reliably.
Use this terminal workflow to fix it permanently.
1) Check Current Disk, Partition, and Filesystem State
$ df -h
$ lsblk -f
If / is still small (for example 20G) even though the VM disk is larger, continue.
2) Install growpart
$ sudo apt update
$ sudo apt install -y cloud-guest-utils
3) Expand the Root Partition
Most Kali VM installs use /dev/sda and root on partition 2.
$ sudo growpart /dev/sda 2
4) Expand the Filesystem (Non-LVM)
For ext4 root filesystems:
$ sudo resize2fs /dev/sda2
For XFS root filesystems:
$ sudo xfs_growfs -d /
5) Verify New Size
$ df -h /
$ lsblk
6) Reboot
$ sudo reboot
If Your Kali Uses LVM
Check whether you have LVM:
$ lsblk -f
If you see LVM2_member, use this path after growpart:
$ sudo pvresize /dev/sda3
$ sudo lvextend -r -l +100%FREE /dev/mapper/kali--vg-root
Verify:
$ df -h /
Quick Cleanup If Space Is Still Tight
$ sudo apt clean
$ sudo journalctl --vacuum-time=7d
This prevents the blinking-cursor boot issue from coming back when the root filesystem fills up again.
Why This Works (Short Version)
The blinking cursor typically means the display manager did not finish starting the desktop session. startx manually starts the graphical session and restores the desktop.
If the issue comes back after reboot, this fix still works, but it can indicate the display manager needs attention. This section focuses on the fastest recovery.
Common Causes of the Kali Blinking Cursor
- The display manager fails to start the graphical session after boot.
- The VM graphics stack does not initialize cleanly.
- A driver or update leaves Xorg in a half-started state.
This guide focuses on the fastest recovery. A permanent fix typically involves display manager repair and VM graphics settings.
FAQ
Does this work on bare metal Kali Linux? It can, but this specific boot issue is most common in VMware and VirtualBox.
Is startx safe to run? Yes. It starts the graphical session manually when the display manager fails.
Will I need to do this every boot? Not always, but repeated failures usually point to the display manager or VM graphics configuration.